

Creating a beautiful and functional garden path doesn’t have to break the bank. With a little creativity and some affordable materials, you can transform your outdoor space into a welcoming retreat. Whether you’re looking to add charm to your backyard, improve accessibility, or simply define your garden’s layout, these cheap DIY garden path ideas will inspire you to get started.
Why Build a Garden Path?
Before diving into the details, let’s explore why a garden path is worth your time:
- Improves Accessibility: Provides a clear route through your garden, keeping feet clean and dry.
- Enhances Aesthetics: Adds visual interest and ties your landscape together.
- Controls Foot Traffic: Prevents soil compaction and protects plants from being trampled.
- Budget-Friendly: DIY paths are an affordable way to elevate your garden without hiring professionals.
With these benefits in mind, let’s explore how to create a stunning yet economical garden path.
Step 1: Plan Your Garden Path
A well-thought-out plan ensures your path is both functional and visually appealing. Follow these steps:
1. Assess Your Space
- Measure the area where you want the path and decide on its width (typically 2–4 feet for walking paths).
- Consider the path’s purpose: Is it purely decorative, or will it handle heavy foot traffic?
2. Choose the Right Route
- Follow natural contours of your yard for a seamless look.
- Avoid steep slopes unless you plan to incorporate steps or switchbacks.
3. Set a Budget
- Decide how much you’re willing to spend. Many of these ideas cost less than $5 per square foot.
Step 2: Explore Affordable Materials
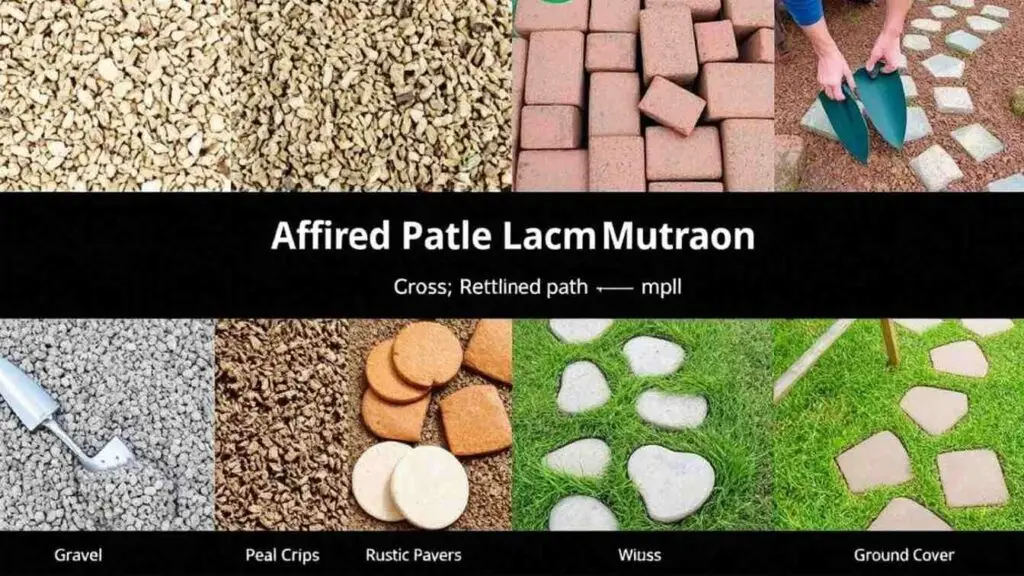
Here are some budget-friendly materials to consider, along with their pros and cons:
1. Gravel
- Cost: $2–$5 per square foot.
- Pros: Affordable, easy to install, and excellent drainage.
- Cons: Can shift over time; may require edging to stay in place.
- Tip: Use crushed stone for a more polished look or pea gravel for a softer texture.
2. Wood Chips or Mulch
- Cost: $1–$3 per square foot.
- Pros: Eco-friendly, soft underfoot, and great for informal gardens.
- Cons: Needs replenishing every 1–2 years; not ideal for heavy traffic areas.
- Tip: Check with local tree services for free or discounted wood chips.
3. Bricks or Pavers (Reclaimed)
- Cost: $1–$4 per square foot (if reclaimed).
- Pros: Durable, customizable, and adds a rustic charm.
- Cons: Requires leveling and may need sand or gravel base.
- Tip: Visit salvage yards or online marketplaces for discounted materials.
4. Stepping Stones
- Cost: $2–$6 per stone.
- Pros: Minimal material needed; creates a whimsical, spaced-out look.
- Cons: Not suitable for wheelchairs or strollers.
- Tip: Use leftover concrete, flagstones, or even painted tiles.
5. Grass or Ground Cover
- Cost: $0.50–$2 per square foot.
- Pros: Natural and low-maintenance; blends seamlessly with the garden.
- Cons: Requires regular mowing or trimming; may wear down with heavy use.
- Tip: Combine with stepping stones for a hybrid approach.
Follow this easy DIY raised bed construction guide to create the perfect setup for your vegetables or flowers.
Step 3: Creative Design Ideas
Add personality to your garden path with these creative designs:
1. Curved Paths
- Create a meandering path to add intrigue and soften straight lines in your yard.
- Use flexible materials like gravel or mulch for easier shaping.
2. Mosaic Patterns
- Arrange broken tiles, glass, or stones in colorful patterns for a unique look.
- Ideal for small sections or focal points.
3. Layered Materials
- Combine different textures, such as brick borders with a gravel center, for visual interest.
4. Edging Techniques
- Define your path with affordable edging options like logs, rocks, or metal strips.
Step 4: Step-by-Step Installation Guide
Follow these steps to build your DIY garden path:
1. Mark the Path
- Use stakes and string to outline the path’s edges.
2. Clear the Area
- Remove grass, weeds, and debris. Dig down 2–4 inches for stability.
3. Add a Base Layer
- For gravel or stepping stones, lay a layer of crushed stone or sand for support.
4. Install the Material
- Spread gravel, wood chips, or lay pavers/stepping stones as desired.
5. Secure the Edges
- Use edging materials to keep the path tidy and prevent materials from spreading.
Step 5: Tips for Longevity and Maintenance
Even budget-friendly paths can last for years with proper care:
- Weed Control: Lay landscape fabric under gravel or mulch to prevent weeds.
- Drainage: Ensure water flows away from the path to avoid pooling.
- Regular Upkeep: Rake gravel, refresh mulch, or re-level stepping stones as needed.
Troubleshooting Common Issues
Even the best-laid plans can encounter challenges. Here’s how to address them:
- Weeds Growing Through: Use landscape fabric or apply a natural weed killer.
- Shifting Materials: Add edging or compact the base layer more thoroughly.
- Uneven Surface: Re-level the path periodically to maintain smoothness.
Eco-Friendly and Upcycled Options
If sustainability is important to you, try these green alternatives:
- Recycled Materials: Use old bricks, broken tiles, or salvaged wood.
- Natural Elements: Incorporate logs, pinecones, or river rocks.
- Permeable Solutions: Opt for materials that allow rainwater to soak into the ground.
Conclusion: Start Your DIY Garden Path Today
A garden path is more than just a functional feature—it’s an opportunity to express your creativity and enhance your outdoor space. With these cheap DIY garden path ideas, you can achieve a professional look without spending a fortune. Whether you choose gravel, wood chips, or reclaimed materials, the key is to plan carefully and enjoy the process.